 By Diego Reyes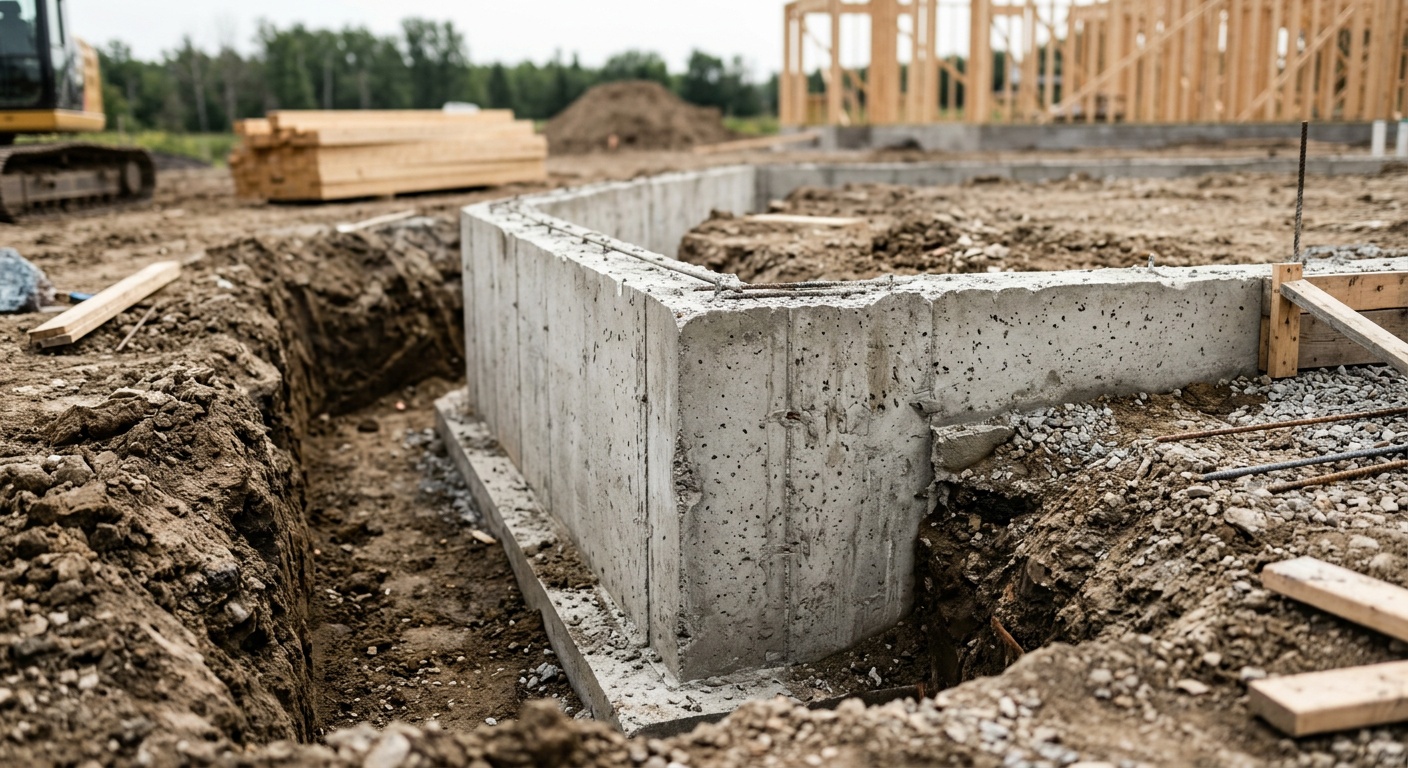
Waterproofing Basement Walls Outside: A Complete Step-by-Step Guide
Reading time: 14 minutes
Water seeping through your basement walls isn’t just a nuisance — it’s a slow-motion disaster in progress. Left unchecked, moisture infiltration can compromise your home’s structural integrity, trigger toxic mold growth, and slash your property value by up to 25%. If you’ve ever walked downstairs to find damp walls, white chalky deposits, or that unmistakable musty smell, you already know the anxiety that comes with it.
Here’s the straight talk: exterior waterproofing is the most effective long-term solution for basement moisture problems — but most homeowners either don’t know where to start or assume it’s too complex for a DIY approach. The truth is somewhere in the middle. With the right knowledge, preparation, and materials, you can tackle exterior waterproofing yourself — or at least know exactly what a contractor should be doing on your behalf.
This guide walks you through every step, from initial assessment to final backfill, with real-world examples, cost comparisons, and pro-level tips that transform a daunting project into a manageable weekend (or two) of meaningful home improvement.
Table of Contents
- Why Exterior Waterproofing Outperforms Interior Solutions
- Step 1 — Diagnosing Your Basement’s Water Problem
- Step 2 — Excavation: Exposing the Foundation Wall
- Step 3 — Cleaning and Repairing the Foundation Surface
- Step 4 — Applying the Waterproofing Membrane
- Step 5 — Installing Drainage Board and Footing Drain
- Step 6 — Backfilling and Final Grading
- Cost Breakdown and Comparative Analysis
- Common Challenges and How to Overcome Them
- Frequently Asked Questions
- Your Waterproofed Basement: Next Steps
Why Exterior Waterproofing Outperforms Interior Solutions
Before picking up a shovel, it’s worth understanding why exterior waterproofing is consistently ranked as the gold standard by structural engineers and waterproofing specialists alike. Interior systems — like sump pumps, interior drain tiles, and crystalline sealers — manage water after it enters. Exterior waterproofing stops water before it ever contacts your foundation walls.
According to the Basement Health Association’s 2025 industry report, homes treated with full exterior waterproofing systems experienced 94% fewer moisture-related callbacks over a 10-year period compared to those with interior-only solutions. That’s not just a comfort statistic — it’s a maintenance cost statistic.
Consider the story of a homeowner in Columbus, Ohio, who spent three consecutive years applying interior hydraulic cement patches and vapor barriers to a chronically wet basement. The patches would hold for a season, then crack again under hydrostatic pressure. In 2025, she finally invested in exterior excavation and membrane application. Result? Zero moisture infiltration in the 14 months since. The project cost $6,200 out-of-pocket but eliminated an annual cycle of $800–$1,200 in band-aid repairs.
“Interior waterproofing is symptom management. Exterior waterproofing is actually solving the problem at its source.” — Dr. Raymond Holt, Structural Engineer and author of Foundation Systems for Residential Construction (2024 edition)
The Core Principle: Hydrostatic Pressure
Water in saturated soil doesn’t just trickle — it pushes. Hydrostatic pressure builds against foundation walls after rainfall or snowmelt, forcing water through even hairline cracks. Exterior systems work by redirecting that water away from the wall before pressure builds, using a combination of membranes, drainage boards, and footing drains.
When Interior Solutions Are Still Valid
To be fair and balanced: exterior waterproofing isn’t always the right call. If your home has limited excavation access (attached garages, decks, or landscaping directly against the wall), or if you’re dealing with condensation rather than infiltration, interior solutions may be more practical. A proper diagnosis — covered in Step 1 — will tell you which approach fits your situation.
Step 1 — Diagnosing Your Basement’s Water Problem
Jumping straight to excavation without a proper diagnosis is like scheduling surgery without getting an X-ray. Your first job is to confirm that you’re dealing with water infiltration (exterior water pressure) rather than condensation (interior humidity) or rising damp (groundwater wicking upward).
The Foil Test
Tape a 12-inch square of aluminum foil tightly against a damp basement wall. Leave it for 24–48 hours. When you remove it:
- Moisture on the wall side = Water is penetrating from outside (infiltration) → exterior waterproofing is your solution
- Moisture on the room side = Interior condensation from humidity → dehumidification and vapor barriers may suffice
- Moisture on both sides = You’ve got a compound problem requiring both approaches
Visual Clues to Document
- White or gray powdery deposits (efflorescence) — indicates long-term water movement through masonry
- Horizontal cracks running along mortar joints — often caused by soil pressure, requiring structural assessment before waterproofing
- Stair-step cracking in block foundations — a common sign of differential settlement or water-driven deterioration
- Active seepage or water staining at the base of walls — strong indicator of hydrostatic pressure from a high water table
Pro Tip: Mark the locations and dates of any moisture you observe on a simple basement sketch. This documentation will help you identify the most vulnerable wall sections and prioritize excavation areas — which directly impacts your budget.
Step 2 — Excavation: Exposing the Foundation Wall
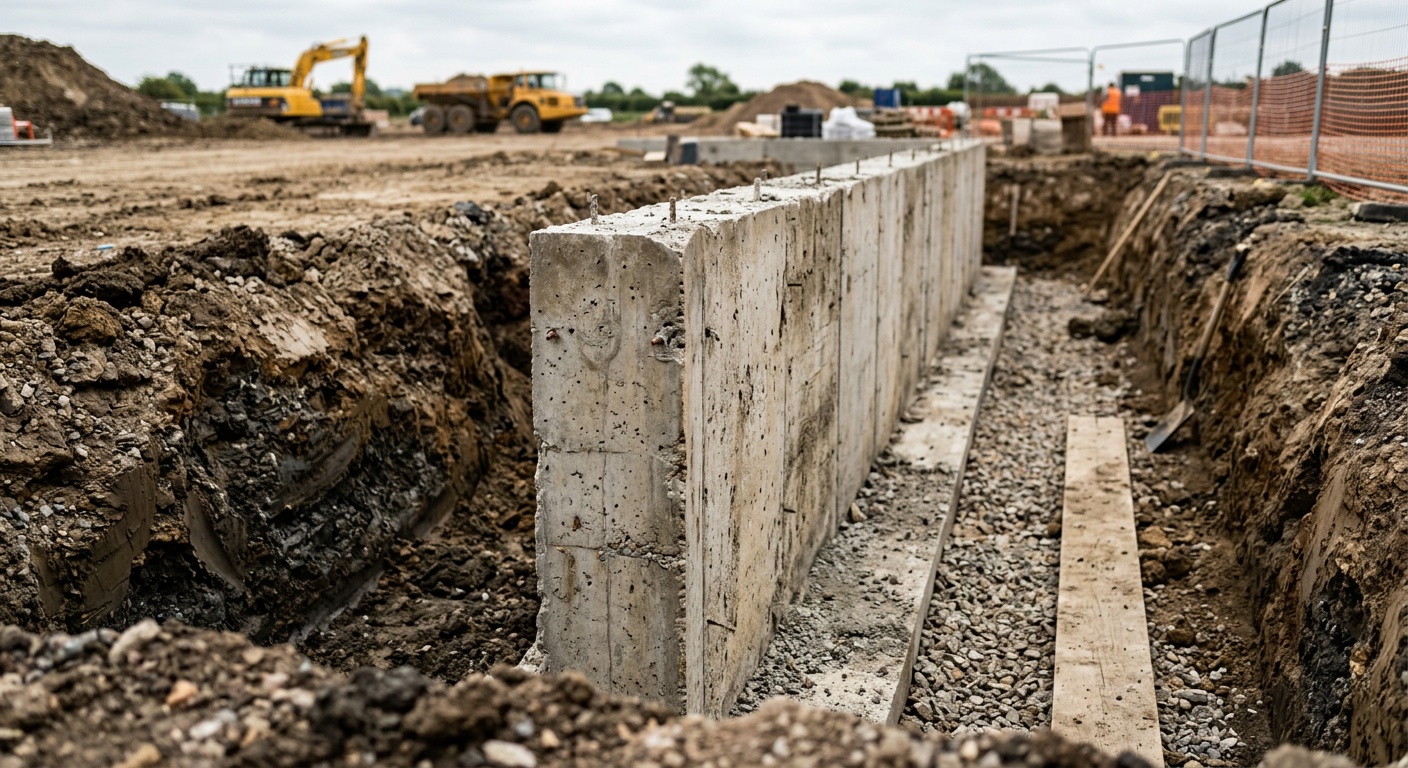
This is the most physically demanding phase of the project. You need to expose the exterior face of the foundation wall from grade level down to the footing — typically 7 to 10 feet deep for a standard residential basement.
Before You Dig: Critical Safety Steps
- Call 811 (in the U.S.) or your regional utility-locate service at least 3 business days before digging. Striking a gas line or electrical conduit is a life-threatening risk. As of 2026, 811 services have expanded their digital request system — you can now submit requests via app with GPS-pinned accuracy.
- Obtain any required permits. Many municipalities require an excavation permit for work exceeding 4 feet in depth.
- Assess soil stability. Sandy or loose soils may require shoring to prevent trench collapse — a genuine safety hazard.
DIY vs. Equipment Rental
Hand-digging a full perimeter excavation is backbreaking work. For most projects, renting a mini excavator ($350–$500/day in 2026) is worth every dollar. A skilled operator can expose an average 30-foot wall section in 4–6 hours. Hand digging the same area typically takes 2–3 full days.
Dig out approximately 3–4 feet wide from the wall to give yourself safe working room. Place excavated soil at least 3 feet from the trench edge to reduce surcharge pressure on the trench walls.
Depth Target
You must expose the full height of the foundation wall, including the footing. Stop digging when you reach the top of the footing — do not excavate beneath it. Work carefully near the footing with hand tools to avoid undermining the structure.
Step 3 — Cleaning and Repairing the Foundation Surface
A clean, structurally sound surface is non-negotiable before applying any waterproofing product. Membranes adhere only as well as the substrate beneath them allows.
Cleaning Protocol
- Remove all loose soil, roots, and debris from the wall surface using a stiff wire brush or pressure washer (if water can drain freely from the excavation).
- Chip away any deteriorated mortar, spalled concrete, or old tar coatings using a cold chisel and hammer.
- Allow the wall surface to dry as much as possible — damp-tolerant membranes exist, but drier is always better for adhesion.
Crack and Joint Repair
This step is where many DIY projects fall short. Every crack, joint, and penetration is a potential failure point in your finished waterproofing system.
- Hairline cracks (under 1/8 inch): Fill with hydraulic cement or polyurethane caulk rated for below-grade applications.
- Wider structural cracks: These may require epoxy injection. If cracks are actively leaking, use fast-setting hydraulic cement to stop the flow first, then seal with epoxy after curing.
- Cold joints (where foundation sections were poured at different times): Apply a bead of polyurethane sealant and tool it flat before membrane application.
- Pipe penetrations: Pack hydraulic cement around any pipe entrances and allow to fully cure (typically 24 hours) before waterproofing over them.
Case Study — Portland, Oregon (2025): A contractor discovered during a re-waterproofing project that the original 1987 tar coating had been applied over uncleaned, root-damaged mortar joints. The roots had since decomposed, leaving void channels that funneled water directly into the basement. The lesson: surface preparation isn’t just about adhesion — it’s about eliminating infiltration pathways entirely.
Step 4 — Applying the Waterproofing Membrane
The membrane is the heart of your exterior waterproofing system. In 2026, you have better material options than ever before. Here are the three dominant systems currently in use:
Membrane Types: A Practical Comparison
| Membrane Type | Application Method | Typical Cost (per sq ft) | Lifespan | DIY Friendly? |
|---|---|---|---|---|
| Liquid-Applied Polymer | Brush/roller/spray | $1.80–$3.50 | 20–30 years | Yes |
| Self-Adhering Sheet | Peel-and-stick panels | $2.50–$5.00 | 25–40 years | Moderate |
| Spray-Applied Polyurethane | Spray equipment required | $3.50–$7.00 | 30–50 years | No (professional only) |
| Cementitious Coating | Brush-applied slurry | $0.80–$2.00 | 10–15 years | Yes |
| Bentonite Clay Panels | Nail-attached panels | $3.00–$6.50 | Indefinite (self-healing) | Moderate |
Application Best Practices for Liquid-Applied Membranes
For most DIY homeowners, a liquid-applied polymer membrane (such as DRYLOK Extreme or Henry BlueMax) offers the best balance of effectiveness and workability. Follow these steps:
- Apply a primer coat to bare concrete or masonry if specified by the product manufacturer.
- Apply the first coat from bottom to top, working the product firmly into the wall surface with a stiff brush or roller. Typical coverage is 50–75 sq ft per gallon for the first coat.
- Allow the first coat to cure per manufacturer specifications — usually 4–8 hours at 70°F (21°C).
- Apply a second coat perpendicular to the first (horizontal if the first was vertical) for complete coverage and no missed spots.
- At critical points — coves, cracks, penetrations, and the wall-footing junction — embed a layer of fiberglass mesh tape between coats for added reinforcement.
- Final membrane thickness should be at least 60 mils (approximately 1.5mm) when dry. Many professionals target 80–100 mils at high-risk zones.
Pro Tip: Temperature matters enormously. Most liquid membranes require application temperatures between 40°F and 95°F (4°C–35°C), and the surface should not be frozen. Applying in cold weather without temperature control will result in adhesion failure and premature cracking.
Step 5 — Installing Drainage Board and Footing Drain
Even the best waterproofing membrane works harder and lasts longer when water is actively directed away from the wall. This is where drainage board and a footing drain system complete your exterior waterproofing solution.
Drainage Board Installation
A dimple-mat drainage board (also called a dimpled membrane or protection board) serves two purposes: it physically protects the waterproofing membrane from backfill damage, and it creates air channels that redirect water downward toward the footing drain rather than pushing against the wall.
- Once the membrane is fully cured, position the drainage board with the dimples facing the wall.
- Fasten at the top using manufacturer-provided adhesive or mechanical fasteners into the rim joist area.
- Overlap seams by at least 6 inches and seal with drainage board tape.
- The bottom of the board should extend over the footing drain pipe to funnel collected water directly into the drain.
Footing Drain Installation
A perforated 4-inch drain pipe (often called a French drain or footing drain) installed at the base of the footing completes the water management system.
- Lay a 4-inch bed of clean crushed stone (3/4-inch gravel) on top of the footing, or alongside it if space is limited.
- Place perforated drain pipe with perforations facing downward on the gravel bed.
- Wrap the entire gravel-and-pipe assembly in filter fabric to prevent fine soil particles from clogging the system over time.
- The drain pipe must slope a minimum of 1/8 inch per foot toward a daylight outlet, dry well, or sump pit.
- Cover with an additional 6–12 inches of washed gravel before backfilling with soil.
The Water Management Efficiency Comparison
Effectiveness Rating of Exterior Waterproofing Components
Source: Basement Health Association Industry Effectiveness Study, 2025
Step 6 — Backfilling and Final Grading
You’ve done the hard work — don’t compromise it with a poor backfill. This final phase is where many otherwise excellent waterproofing jobs develop premature problems.
Backfill Material Selection
- Use clean granular fill (crushed stone, gravel, or coarse sand) for the first 12–18 inches directly against the drainage board. Granular material drains freely and minimizes hydrostatic pressure against the wall.
- Avoid clay-heavy soils directly against the wall — clay retains water and increases hydrostatic pressure dramatically.
- Transition to native soil after the granular zone, but never use debris, construction waste, or large rocks that could puncture the drainage board or membrane.
Compaction Technique
Backfill in 6–8 inch lifts, compacting each layer lightly with a hand tamper or plate compactor set to low vibration. Heavy mechanical compaction directly against the wall can create lateral pressure that damages the new waterproofing system. Work from the outer edges of the trench inward, rather than dumping all material at once.
Final Grading: The Overlooked Step
Surface grading is one of the most cost-effective waterproofing measures and one of the most commonly skipped. The finish grade around your home should slope at least 6 inches downward over the first 10 feet of horizontal distance from the foundation wall. This directs surface runoff away from the structure before it even reaches the soil surrounding your new drainage system.
Also address downspout discharge: an HVAC and residential moisture study published in late 2025 found that 65% of basement water problems in homes with otherwise adequate waterproofing were exacerbated by downspouts discharging within 4 feet of the foundation. Install downspout extensions or underground discharge lines to deposit roof runoff at least 6–10 feet from the house.
Cost Breakdown and Comparative Analysis
Let’s be honest about the investment involved. Exterior basement waterproofing is not the cheapest home improvement project — but its ROI, when measured against long-term repair avoidance and home value protection, is consistently strong.
Typical 2026 Cost Ranges
- DIY (materials only, single wall): $800–$1,800
- DIY (materials only, full perimeter): $2,500–$5,500
- Professional installation (single wall): $3,500–$8,000
- Professional installation (full perimeter): $12,000–$30,000+
- Equipment rental (mini excavator, 2 days): $700–$1,000
For context, a mold remediation project triggered by prolonged moisture infiltration costs between $3,000 and $10,000 in 2026, according to HomeAdvisor’s annual services report. Foundation crack repair due to water-accelerated deterioration averages $4,000–$12,000. The waterproofing investment, viewed against these alternatives, reframes itself as protection rather than expense.
Common Challenges and How to Overcome Them
Challenge 1: Limited Excavation Access
Decks, driveways, patios, and landscaping features built against the foundation wall are the most common obstacle to exterior waterproofing. In these situations, a hybrid approach often makes the most sense: prioritize exterior waterproofing on accessible sections and combine with interior drainage systems (channel drain + sump pump) on inaccessible sections. Consult a structural engineer before removing load-bearing deck footings or cutting through concrete patios adjacent to the foundation.
Challenge 2: High Water Table
If your basement floods during or shortly after rain events, you’re likely dealing with surface water infiltration — a great candidate for exterior waterproofing. But if your basement floods during dry weather or when the water table is high from seasonal groundwater, a sump pump system must be part of the solution. No exterior membrane alone can withstand sustained hydrostatic pressure from a water table that rises above footing level. In these cases, install a sump crock at the lowest point of the excavation before backfilling, and tie the footing drain into the sump system.
Challenge 3: Older Foundations Using Brick or Stone
Pre-1940 homes often have rubble stone or historic brick foundations rather than poured concrete or concrete block. These materials are inherently more porous and irregular, making membrane adhesion challenging. For historic masonry, a bentonite clay panel system is often the most reliable solution — the panels self-seal around the irregular surface geometry, and bentonite actually swells when wet, providing a self-healing barrier. Always check with local historic preservation guidelines before applying any waterproofing system to a historically registered structure.
Frequently Asked Questions
How long does exterior basement waterproofing typically last?
A properly installed exterior waterproofing system using a quality liquid-applied or sheet membrane, drainage board, and footing drain can realistically last 20 to 40 years with no maintenance. Self-adhering sheet membranes and spray-applied polyurethane systems at the higher end can exceed 40 years. The biggest variables affecting longevity are surface preparation quality, membrane application thickness, and whether an adequate drainage layer was included. Systems installed without drainage boards tend to fail earlier due to the increased hydrostatic stress on the membrane alone.
Can I waterproof only one exterior wall if that’s where the leak is?
Yes — and this is often the most cost-effective starting point. If your foil test and visual inspection clearly identify one wall as the source of infiltration, single-wall exterior waterproofing is entirely viable. Budget approximately one-quarter of a full-perimeter project cost. However, be aware that water follows the path of least resistance — once you seal the primary entry point, existing hydrostatic pressure may seek out a secondary wall. Monitor the other walls closely for 1–2 wet seasons after completing single-wall work, and address any new moisture appearances promptly.
Do I need a permit for exterior basement waterproofing excavation?
Permit requirements vary significantly by jurisdiction. As of 2026, most U.S. municipalities require a permit for excavation exceeding 4 feet in depth, and some require a separate building permit for foundation work. Cities including Chicago, Seattle, and Denver have tightened excavation permit enforcement in 2025–2026 following several residential trench collapse incidents. Always check with your local building department before beginning work. Permit fees typically range from $75–$300 and are a small cost compared to potential stop-work orders or liability issues from unpermitted work discovered during a home sale.
Sealing the Deal: Your Action Plan for a Permanently Dry Basement
Exterior basement waterproofing isn’t just a home repair — it’s a declaration that you’re investing in your home’s long-term health and your own peace of mind. The steps you’ve just read through aren’t theoretical: they’re the same sequence that professional waterproofing contractors follow on projects costing tens of thousands of dollars.
Here’s your practical next-step roadmap:
- This week: Perform the foil test and document moisture locations in your basement. Confirm whether you’re dealing with infiltration, condensation, or both.
- Within 2 weeks: Call 811 to schedule a utility locate, check local permit requirements, and get at least two contractor quotes if you’re considering professional installation — knowing the market price sharpens your DIY cost comparison.
- Project start: Prioritize the most affected wall for Phase 1 if budget is a constraint. A single well-executed wall is far more valuable than a rushed full-perimeter attempt.
- During the project: Document each step with photos. This serves as a maintenance record, supports future home sale disclosures, and is often required for warranty claims on waterproofing products.
- Post-completion: Correct surface grading and downspout extensions immediately — these free or low-cost improvements directly protect your new waterproofing investment.
As climate patterns continue shifting — with the U.S. experiencing more concentrated, high-intensity rainfall events in 2025 and 2026 than any period in the past three decades — basement moisture management is becoming less of a regional concern and more of a universal homeowner priority. Exterior waterproofing that would have been considered “above and beyond” for moderate climates five years ago is increasingly the baseline standard.
You now have the knowledge to act strategically rather than reactively. The question isn’t whether your basement needs protection — it’s whether you’ll address it before the next heavy rain, or after. Which would you rather be doing: watching a dry basement during a storm, or mopping one?
Article reviewed by Rachel Wu, Budget Control & Project Timeline Management Consultant, on July 15, 2026